Tags: Fruit

Blueberry Walnut Pomegranate Smoothie
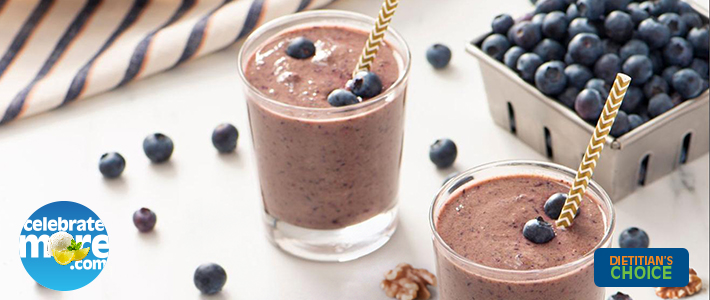
We can’t think of a smoother way to fill your day with more fruits and veggies! This 6 Ingredient Blueberry Walnut Pomegranate Smoothie blends the sweet-tart flavors of blueberry and pomegranate for a refreshing treat. Even better, it has all the health benefits of spinach and walnuts wrapped up in one bold, fruity package.
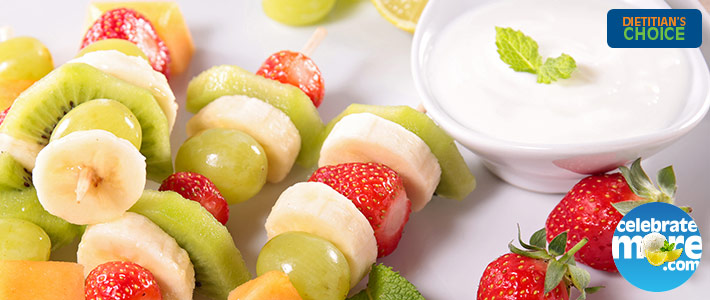
Banana Split On A Stick

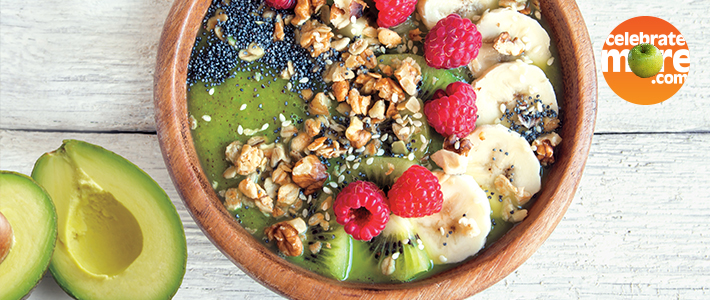
Awesome Avocado Smoothie Bowl
Watermelon Dessert Pizza

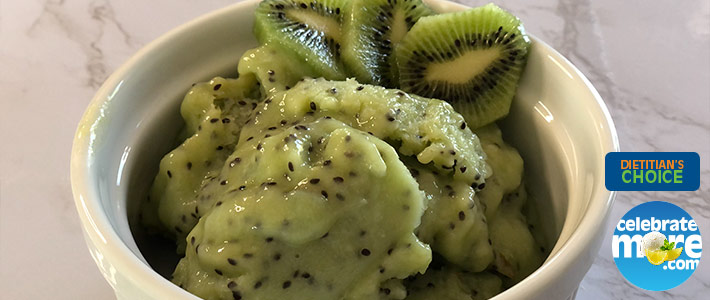
Kiwi Sorbet
Grilled Fruit Salad with Balsamic Drizzle

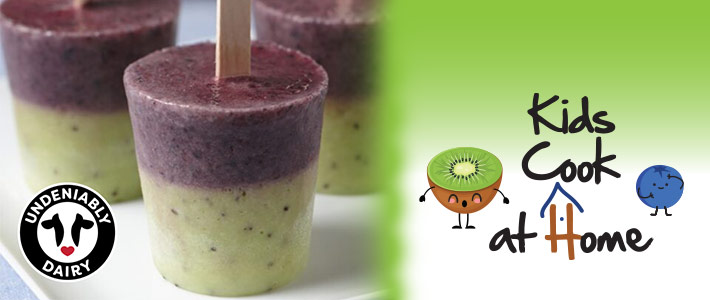
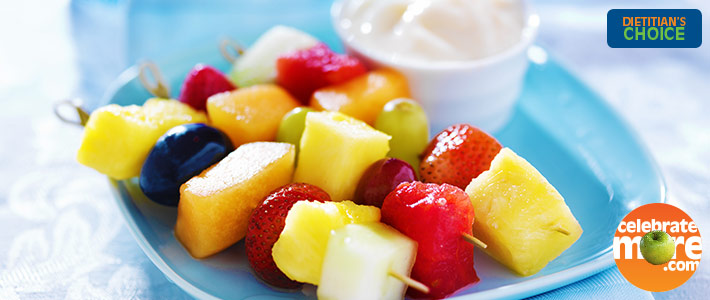
Perfect Pair Pops
![]() Recipe Difficulty: Easy
Recipe Difficulty: Easy
Oven: No
Stovetop: No
Knife: Yes (cutting fruit)
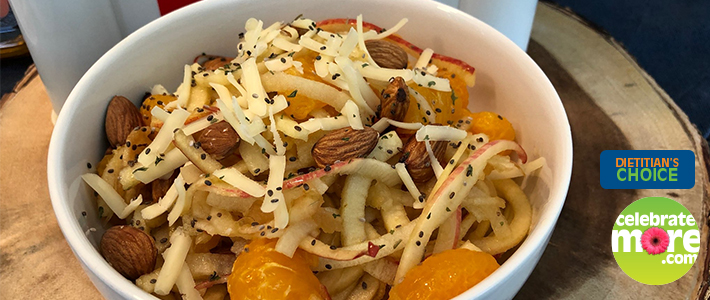
Spiralized Apple Salad with Toasted Almonds
Breakfast Skewers

![]() Recipe Difficulty: Medium
Recipe Difficulty: Medium
Oven: No
Stovetop: Yes
Knife: No
These Breakfast Skewers are perfect for those mornings when you have a bit more time to be creative in the kitchen. You can also keep the leftover pancakes you make in the freezer and pop them in the toaster to cook them up for a quick breakfast another day. These are also fun for a snack, or an evening where you and your family cook up breakfast for dinner.
Supplies Needed
- Mixing Bowl
- 2 Spatulas (one for mixing, and one for flipping pancakes)
- Measuring Cups
- Measuring Spoons
- Medium Pan
- Spoon or small scoop
- Skewers or toothpicks
Spring Into Summer With Smoothie Bowls
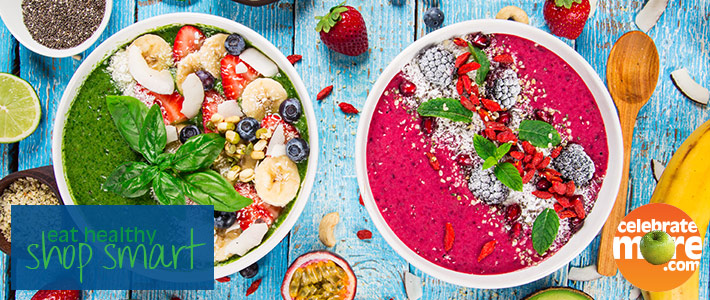
Spring Into Summer with Smoothie Bowls
 Like to eat? Me too! While smoothies are a quick and easy way to get in great nutrition, I’ve always had one personal problem with them – I’d rather eat my food than drink it. Then entered the smoothie bowl. Tasty, nutritious and Instagram worthy? Hellooooo #BowlGoals. While making a smoothie bowl is quite straight forward, I am sharing my top 5 tips for getting the most nutrition (and taste) out of your next creation.
-
Start with a nutritious (and tasty) base
- When making a balanced smoothie bowl (or any meal or snack for that matter), it is important to include a protein, carbohydrate and healthy fat.
- For this tip, let’s focus on protein. While there are many ways to incorporate protein into a smoothie bowl, one of the best ways I recommend is to use a protein-rich base like:
- Kefir
- Milk or lactose-free milk
- Soy milk
- Greek yogurt
- Skyr-style yogurt
- Not only do these options provide protein, they also contain other nutrients like calcium, vitamin D and probiotics!
-
All the fruits and veggies
- Next up, let’s chat about carbohydrates. Carbohydrates, especially fruits and veggies, are an important part of what we eat.
- According to the CDC, 76% of Americans are not consuming the recommended 1.5-2 cups of fruit per day and 87% are not meeting the 2-3 cups of veggies recommended per day.1 This means there is plenty of room in our smoothie bowls for fruits and veggies!
- Fruits
- One of my favorite tips is to add frozen fruit! This allows for a thicker and creamier texture – perfect for eating by the spoonful.
- Frozen, fresh and canned fruit (in 100% fruit juice) are great ways to add flavor, color and variety.
- My personal favorites are using in-season fresh fruit (bananas are always a great option), frozen berries or cherries and canned pineapple!
- Veggies
- Long gone are the days where you must have a brown smoothie bowl in order to get your veggies!
- Although greens (like spinach and kale) are great additions to smoothies, milder tasting veggies such as cooked cauliflower or sweet potato can add variety in texture and nutrition.
- Don’t forget about no-salt added canned beans! White northern beans and chickpeas also add great variety and are an inexpensive addition to your smoothie bowl.
-
Add in your healthy fats
- Healthy fats are often forgotten when blending up a smoothie bowl, however, they can add in key nutrients such as fiber, healthy monounsaturated fats and omega-3s!
- Try adding one of these the next time you create your own concoction:
- Avocado
- Nut or seed butter
- Flax oil
- Avocado oil
- Hemp seed
- Chia seed
- Ground flax seed
-
Blend it up
- This may sound like a simple step, but I wanted to include this tip with a few helpful hints.
- If using greens, blend the base and greens first before adding in other ingredients. This will ensure that greens are well blended. Although I said I like to ‘eat’ my food, I’m not a fan of leaves of spinach sticking out of my smoothie bowl.
- If you are not going to eat your smoothie bowl right away (aka meal prepping), be warned that you shouldn’t mix dairy and pineapple together. Pineapple naturally contains the enzyme bromelain, which when mixed with dairy and left to sit, the dairy will curdle.
-
Don’t forget the toppings
- After you have your tasty, nutritious and blended creation, the fun part starts.
- Pour your smoothie mix into your favorite bowl and top with tasty toppings!
- You can choose toppings based on flavor or design, but either way, have fun with it! Here are some of my favorite suggestions:
- Nuts and seeds
- Hemp, chia, and flax seeds
- Nut and seed butters
- Fruit slices
- Edible flowers
- 100% dried fruit
- Cacao nibs
- Granola
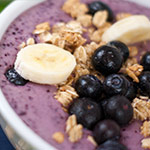 To help start you off right, try one of my personal favorite smoothie bowl recipes – Blueberry, Avocado, and Banana Smoothie Bowl!
Healthy and Happy Eating,
Emily Parent, RD, LD
-
(2015, July 10). Adults meeting fruit and vegetable intake recommendations — United States, 2013. Retrieved from www.cdc.gov/mmwr/preview/mmwrhtml/mm6426a1.htm
Fruit Kabobs
Greek Yogurt Fruit Dip
DIY Watermelon Bouquet
Summer is in full bloom and there are so many great flowers available this time of year. If you’ve ever wanted to try your hand at designing your own floral centerpiece, this watermelon bouquet is a great place to start!
You’ll need:
- 1/2 Watermelon, scooped out
- Floral Foam, presoaked in water
- Floral Tape or Skinny Duct Tape
- Floral Knife or Shears
- Floral Greenery – I used Leather Leaf and Salal (Lemon Leaf) in my arrangement!
- 1 Dozen Red Roses
- 5 Pink Carnations
- 5 Stems Kermit Button Mums
- 3-5 Stems Baby’s Breath
You can use any colors of the flowers that you prefer, make it your own and have fun with it! Here’s a few tips to keep in mind as you’re creating your masterpiece.
- Determine where the front of your centerpiece will be. Although you’ll push the stems into the center of the foam, you’ll want to angle the leaves or flowers slightly towards the front of the design to get the best view.
- When you’re putting the stems in the foam, remember it’s not very forgiving! So once you stick it in, leave it there. Be mindful of where you’re putting it beforehand.
- Strip away the extra leaves on the stems of the flowers. Those tend to die off first and grow bacteria making them mushy. By removing them you’ll allow for more air flow and your design will last much longer!
- If you have extra baby’s breath left over, you can put that in a vase with water and they’ll stay good for a long time so you could use them in a future arrangement as well.
- You can also use any left over items by creating a second, smaller version of your bouquet! Repeat the same process using a green pepper, just use much smaller pieces of greenery and the smallest mum buds so it’s proportional to the pepper.
I hope these tips will help you succeed with your DIY floral projects! They’re the perfect addition to summertime parties and will get you LOTS of compliments from your friends and family!
Ashley
Floral Manager, Sauk Rapids

